How to Transcribe Video on a Mac
 Ilias Ism4 min read
On this page
TL;DR
- An app with a local speech model transcribes a file on your Mac without uploading it, from the audio.
- Scribiz also reads what was on screen: from a link in the browser, or from a file with the Mac app or the command-line tool.
- Export SRT or VTT for Final Cut, Premiere or Resolve, and Markdown for notes.
To transcribe a video on a Mac, drop the file into a transcription app or paste the video's link into a web tool. Which one fits depends on whether you need only what was said, or also what was shown: slides, code and text on the screen.
Below are the two ways that work on a Mac today, what each one sends off your computer, and how to get subtitles for a video editor or notes for an app like Obsidian.
What was said, and what was shown
A speech model works from the sound track. It writes down the words, splits them into sentences, and marks when each one was said. For a podcast, an interview or a meeting, where everything that matters is spoken, that is the whole job.
A video often carries more in the picture. In a coding tutorial the speaker says "change this value" without reading the code aloud. In a webinar they say "as you can see on this slide" and the numbers are only on the slide. A transcript of the sound has the sentence and not the slide.
So decide first which you need:
- The spoken words, with times and, when there are several people, who said what.
- The on-screen text: slide titles, bullet points, code, labels, with the time they appeared.
Option 1: an app that transcribes on your Mac
If the video is a file on your Mac and only the speech matters, an app that runs a speech model on the Mac itself keeps the recording private. MacWhisper is one: its site says it uses "local models to transcribe your files" and that the content is processed "without data ever leaving your Mac".
- Install the app.
- Drag the video or audio file into its window.
- Export the text, or subtitles for an editor.
Nothing is uploaded and there is no per-minute bill. A speech model works from the audio, so the slides and code in the picture are not part of the result.
Option 2: Scribiz, for the speech and the screen
We make Scribiz. It returns the transcript, what was on screen, a summary and chapters, and it reads both files and links.
In the browser, video to text takes a file or a link:
- A file is read on your computer and only its audio is uploaded, so the picture never leaves your Mac. You get the speech with timestamps.
- A link (YouTube, for example) can be read in Both mode: the speech and the on-screen text on one timeline.
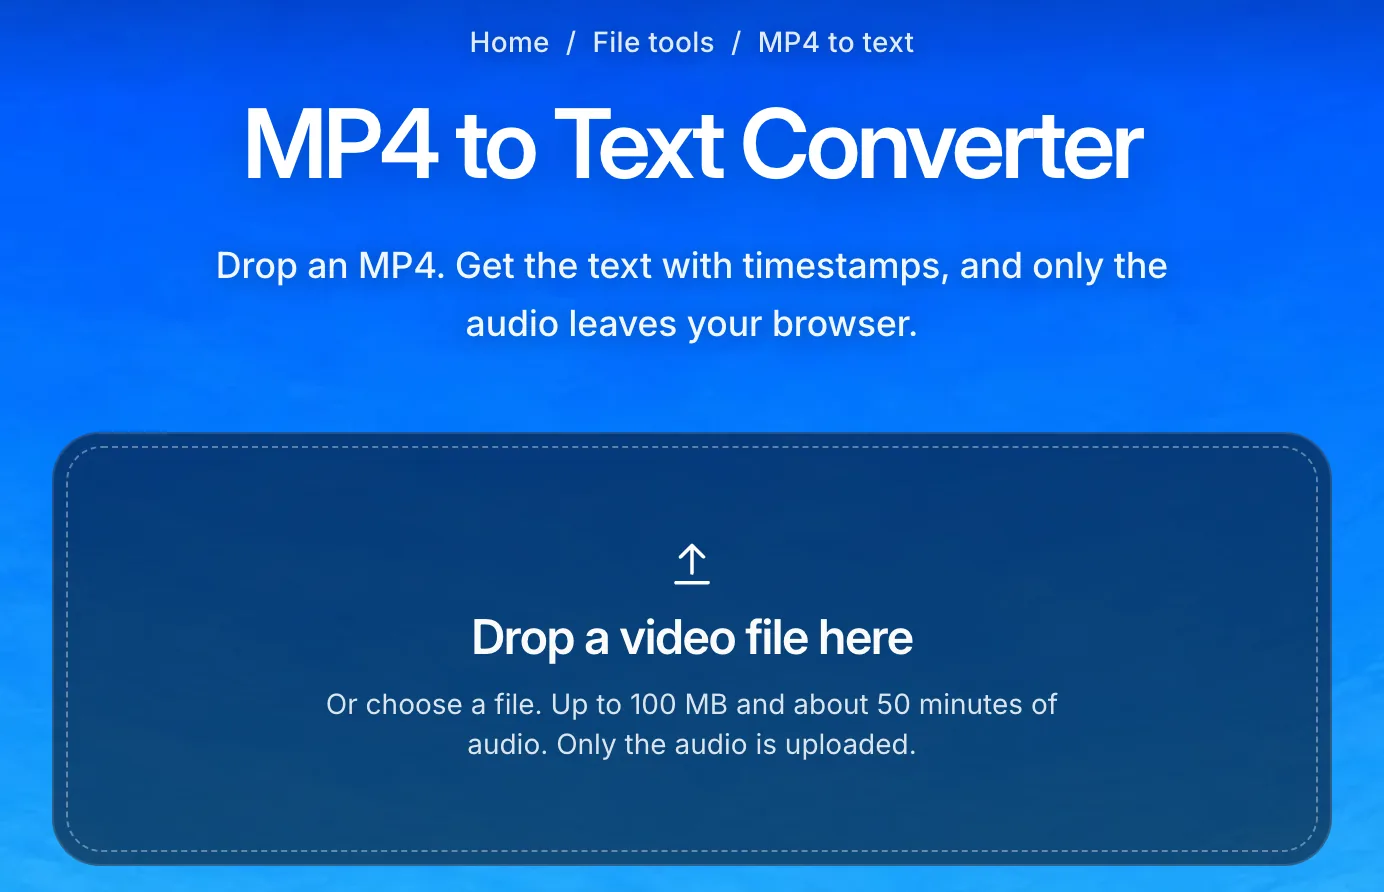
No account needed for videos up to 15 minutes.
Transcribe a videoWithout an account a video can be up to 15 minutes, with 10 minutes of listening a day. Listen uses one minute per minute of video and Both uses two.
To read the screen of a file on your Mac, use the Scribiz Mac app or the command-line tool. Both make a small low-resolution copy of the video on your Mac and send that with the audio, never the whole file. From the command line:
npm install -g scribizscribiz loginscribiz context talk.mp4 --visualThe result has an On screen tab next to the transcript: each scene with its time and the words read from it.

Subtitles for Final Cut, Premiere or Resolve
If you edit video, the transcript is usually a step toward subtitles. Two formats cover almost every editor and player:
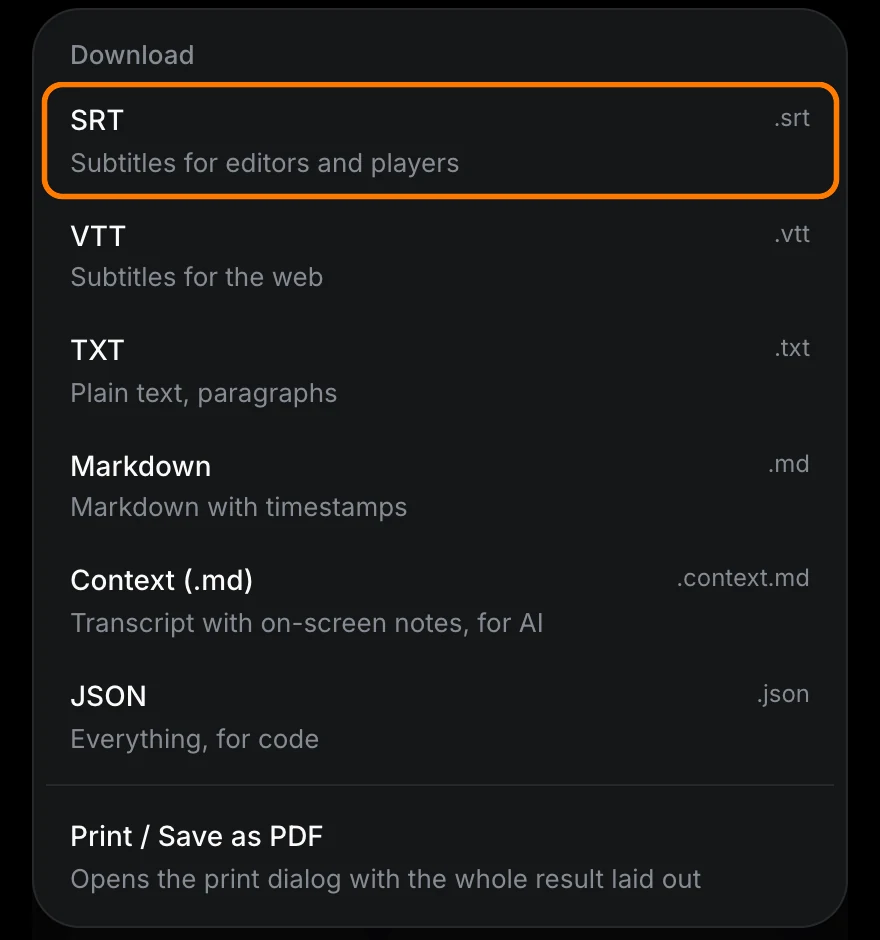
- SRT: the format Final Cut Pro, Premiere Pro, DaVinci Resolve and YouTube all import. Each caption has a number, a start and an end time, and one or two lines of text.
- VTT: the web's format, for players in the browser.
In a Scribiz result, open Export and pick SRT or VTT, then import the file into your editor's timeline.
Notes for Obsidian, Notion or Bear
For notes, export Markdown. It starts with the title and a summary, then the transcript under chapter headings, each with the time it starts. Context is Markdown written for an AI chat: the transcript with the on-screen notes beside it.
Which to pick
- Only the speech, and the file must stay on your Mac: an app with a local model.
- The speech and the screen of a link, from any browser: Scribiz's video to text in Both mode.
- The speech and the screen of a file on your Mac: the Scribiz Mac app or
scribiz context --visual.
Whichever you use, read the names and numbers back against the video before you publish: a speech model can mishear a name it has never seen.